Turn off the game.
Some connectors are removed for clarity.
Step by step mounting instructions using Williams - Laser Cue.
Turn off the game.
Some connectors are removed for clarity.
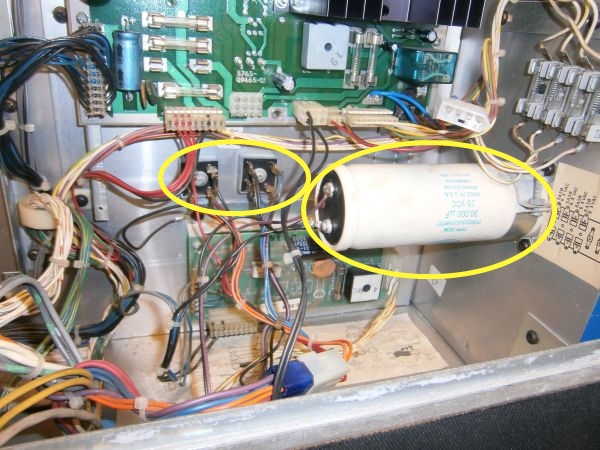
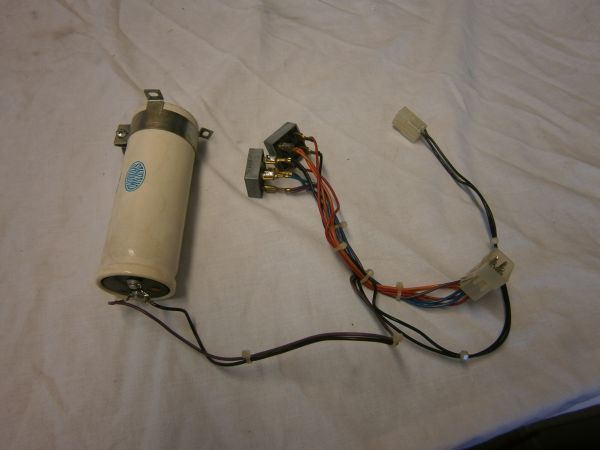
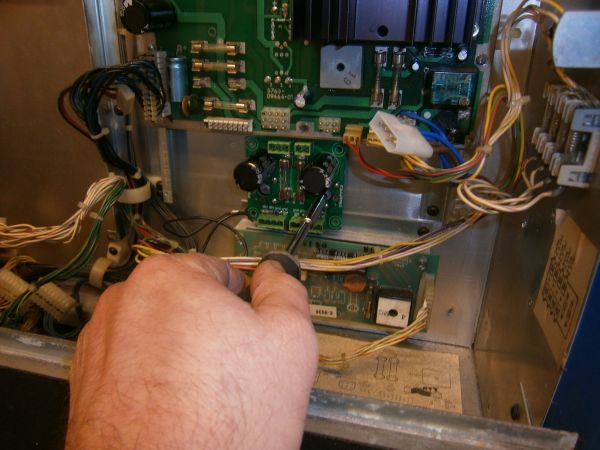
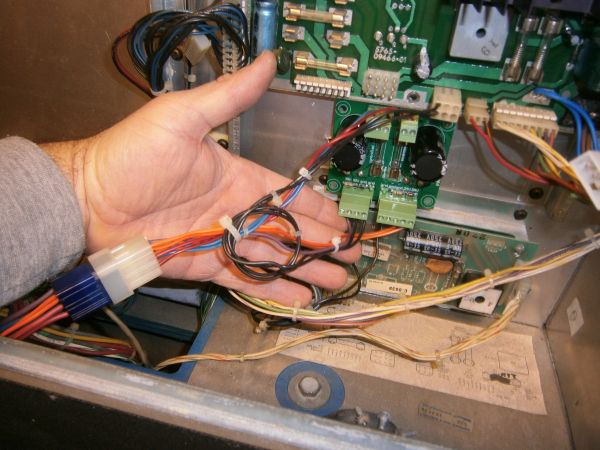
First locate the large capacitor and the two bridge rectifiers.
Disconnect the plug with wires leading to the bridge
rectifiers.
Also disconnect the ground plug to the power supply.
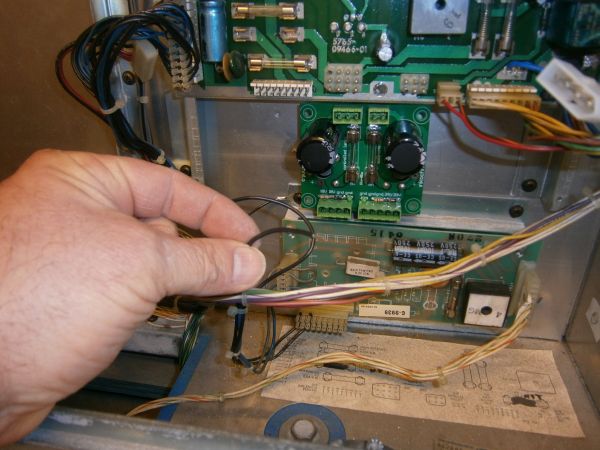
Loosen the screws from the bridge rectifiers and the big capacitor and remove
them from the back box.
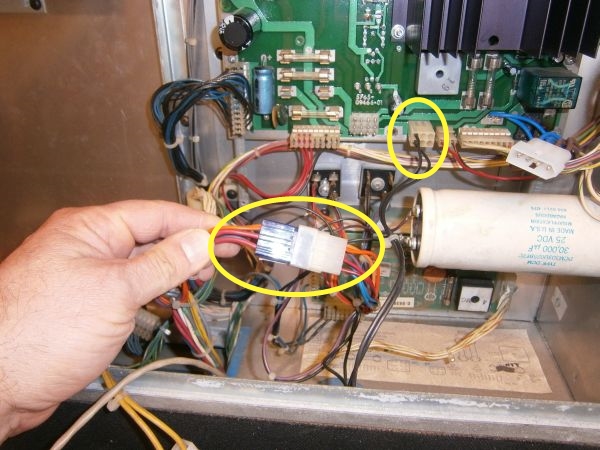
As last cut the black wire to the capacitor. We will connect it later.
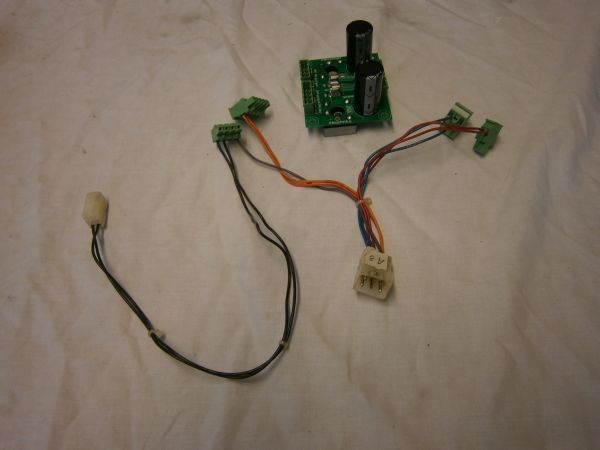
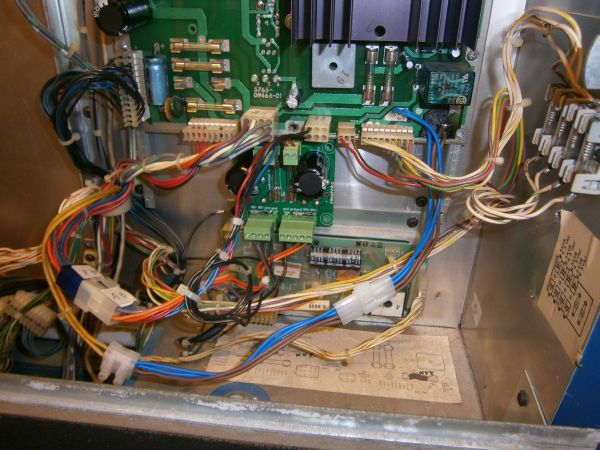
This is what has been taken out of the back box.
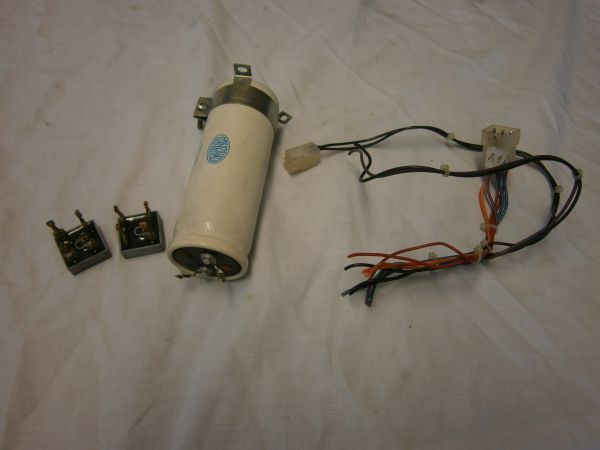
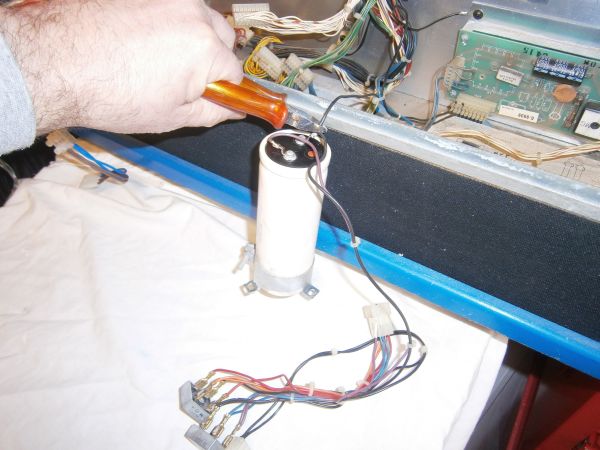
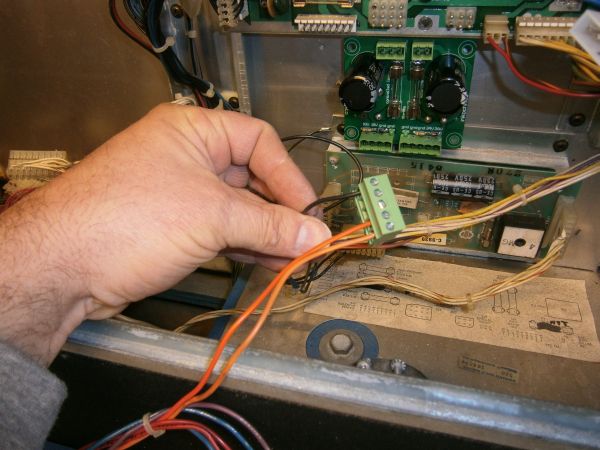
Cut all the wires at the components, but not at the connector.
Cut the zip ties...
and discard the black and purple wire.
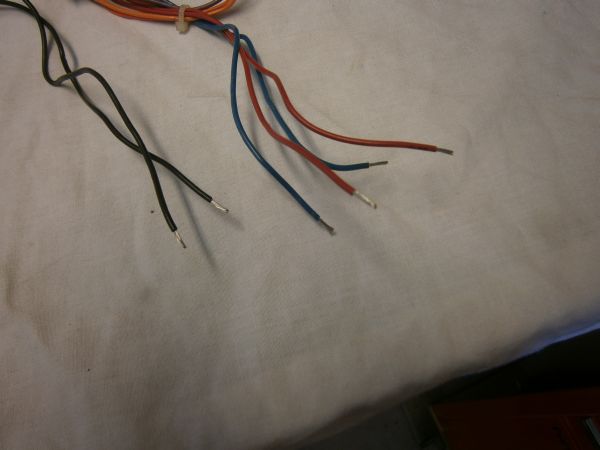
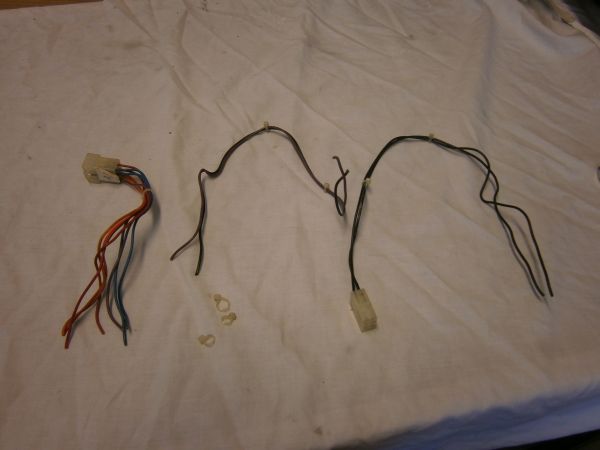
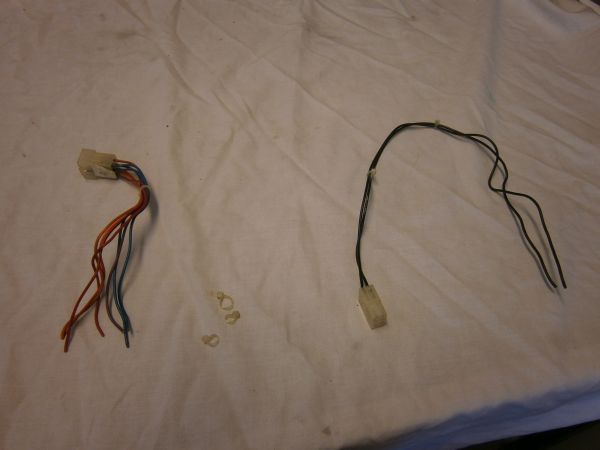
Cut the isolation from the wires for about a 0.25 inch (6mm).
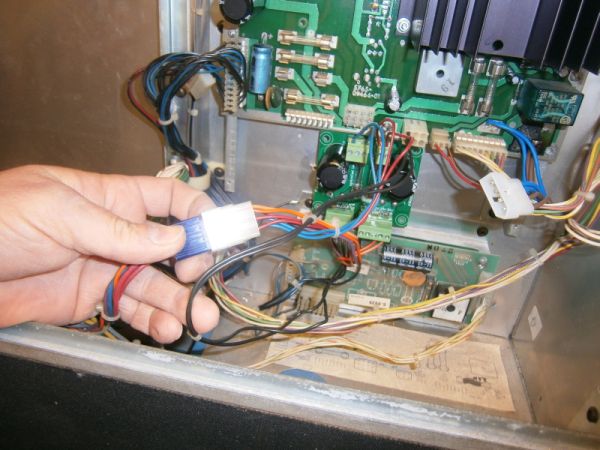
Connect the wires to the appropriate connection. (see pdf
file)
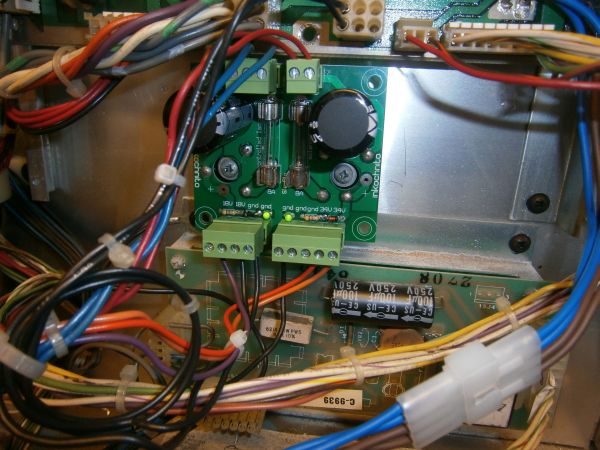
Find a nice and handy place to mount the new Bridge Board
with the LED's down.
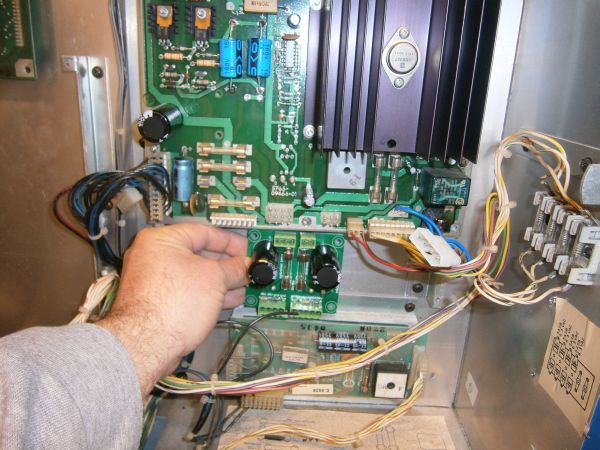
Mark the holes of the bridge rectifiers for mounting.
Sometimes the old holes for the rectifiers will match the new Bridge Board
holes.
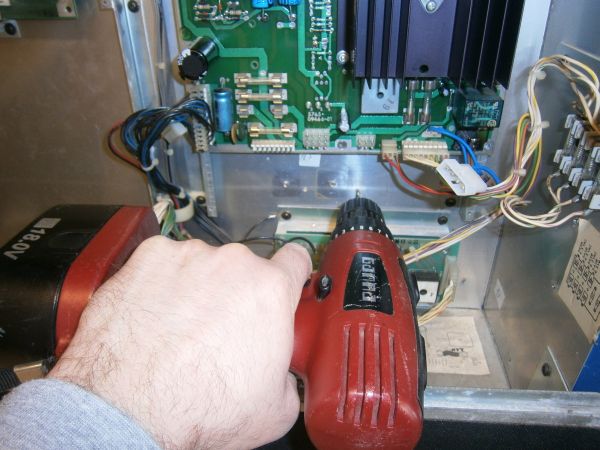
Drill two small holes just through the metal plate.
Use the screws from the old bridge rectifiers to mount the
new Bridge Board with the LED's down.
Don't forget the cut black wire...
Use one of the ground connections (left of the orange wires)
to connect the black wire.
Connect all the plugs to the Bridge Board and the other
connectors.
Use a few new zip ties to bundle the wires nicely.
This is what it looks like with every plug connected again...
Turn on the game.
LED's are lit. Everything is finished now. Ready to play!
© 2014 Inkochnito